How To Write a Blog Post With Jasper in 7 Steps
Learn how to write a great blog post using Jasper AI. Follow this step-by-step guide to create outstanding AI-generated content.

.png)
.avif)
Jasper is an artificial intelligence (AI) writing tool that can help you create blog posts optimized for search engines.
While there’s a bit of a learning curve to using Jasper as a copywriting tool, once you have the hang of it, you can create content faster than ever before—no previous experience as a blogger required.
In this tutorial, we’ll go over the step-by-step process for learning how to use Jasper to write blog posts.
1. Choose the best Jasper plan
The first step is to sign up for a Jasper account and choose your pricing plan.
- Creator plans are $49 per month ($39 monthly if billed annually) and let one user access all of Jasper’s core features. You can upload up to 50 knowledge assets to help train Jasper on one company’s brand voice, too. This plan is best for business owners or writers focused on content creation for one business.
- Team plans are $125 per month ($99 monthly if billed annually) and give up to three users access to Jasper tools. You can upload up to 150 knowledge assets to train the AI on three different brand voices. This plan is a good choice for small teams and solo professionals who are creating content for different brands.
If you need more user seats and brand voices or API access, you’ll need to contact Jasper’s sales team for a customized quote.
2. Open the one-shot blog post template
There are a few different ways that you can create new blog posts while using Jasper as your AI writing assistant—but its “one-shot blog post template” is nice to use when you’re first starting out with the tool. You can use the outputs as finished copy on your website, or as a starting point to help you get over writer’s block.
To access this long-form content creation template, log into your Jasper dashboard and click on “Create content.” In the box that pops up, choose “New blog post.” This will open the one-shot blog post template.

3. Input details about the blog post
While many generative AI tools work best when users have some background with prompt engineering, that’s less true with Jasper. It walks you through the steps of creating a blog post with this template.
You need to have the following information ready in order to use this template:
- Blog topic: What’s the blog post about?
- Tone of voice: How should this blog post sound to readers? Even if you’ve trained Jasper on your brand voice, you can still put in a specific tone here. Authoritative, informative, friendly, casual, professional, funny, and expert are all examples of tones of voice.
- Intended audience: Who do you expect to read this blog post?
- Number of outputs: How many versions of a blog post would you like Jasper to produce? You can ask Jasper to give you more than one option to choose from—and then pick your favorite!
You can also opt to have Jasper create your blog post in over 30 different languages.
4. Generate a Jasper output
Once you’re done, click the “generate content” button to see the outputs.

Jasper’s one-shot blog post outputs can be a bit on the short side, and often are without any of the standard formatting you might like to have on a blog post, such as H1s or bulleted lists.
While you can adjust the output to include more of these elements by changing your input instructions, it’s also very easy to just open the content in a Jasper document and edit it yourself.
To do this, click on the output you like best. It’ll open in a pop-up. From there, click “Open in doc.”

5. Edit the blog post
Jasper will open the selected output in a new document editor that looks very similar to the one you just left. This time, though, you have a few more tools at your disposal.
Brainstorm with Jasper
If you’re stuck on how to proceed, you can enter Jasper “Chat mode” by clicking on the conversation icon in the top center of your screen. This opens up a chat window where you can chat with the AI about your content, ideas, and more.
Add content to the draft
You can add content to the draft yourself, or click the plus sign that appears when you hover over a blank space in Jasper’s output. Clicking the plus sign will allow you to give Jasper commands directly in the document.

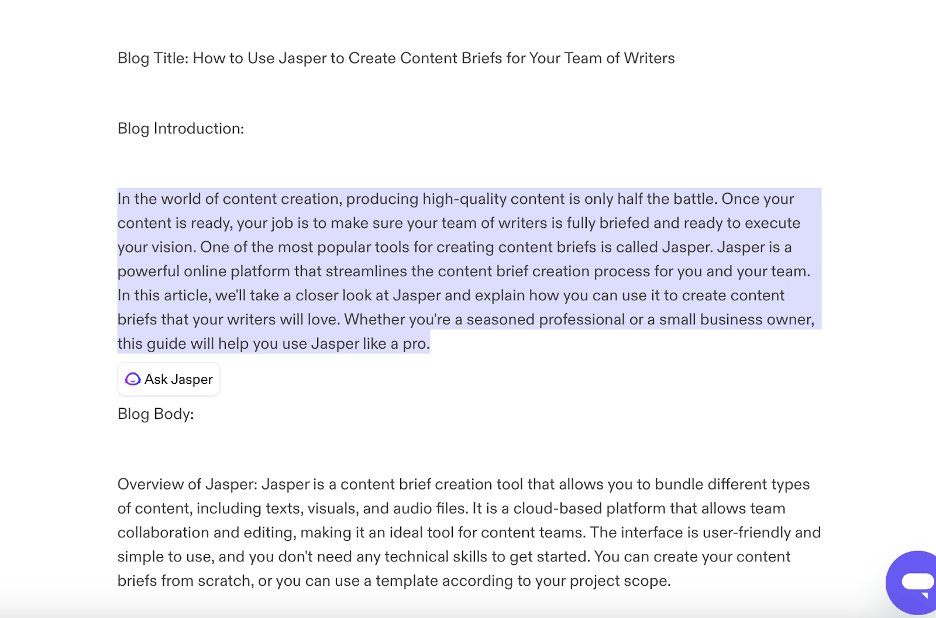
You can also highlight a section of text and click on the “Ask Jasper” icon that appears to rewrite, translate, and interact with your blog post.
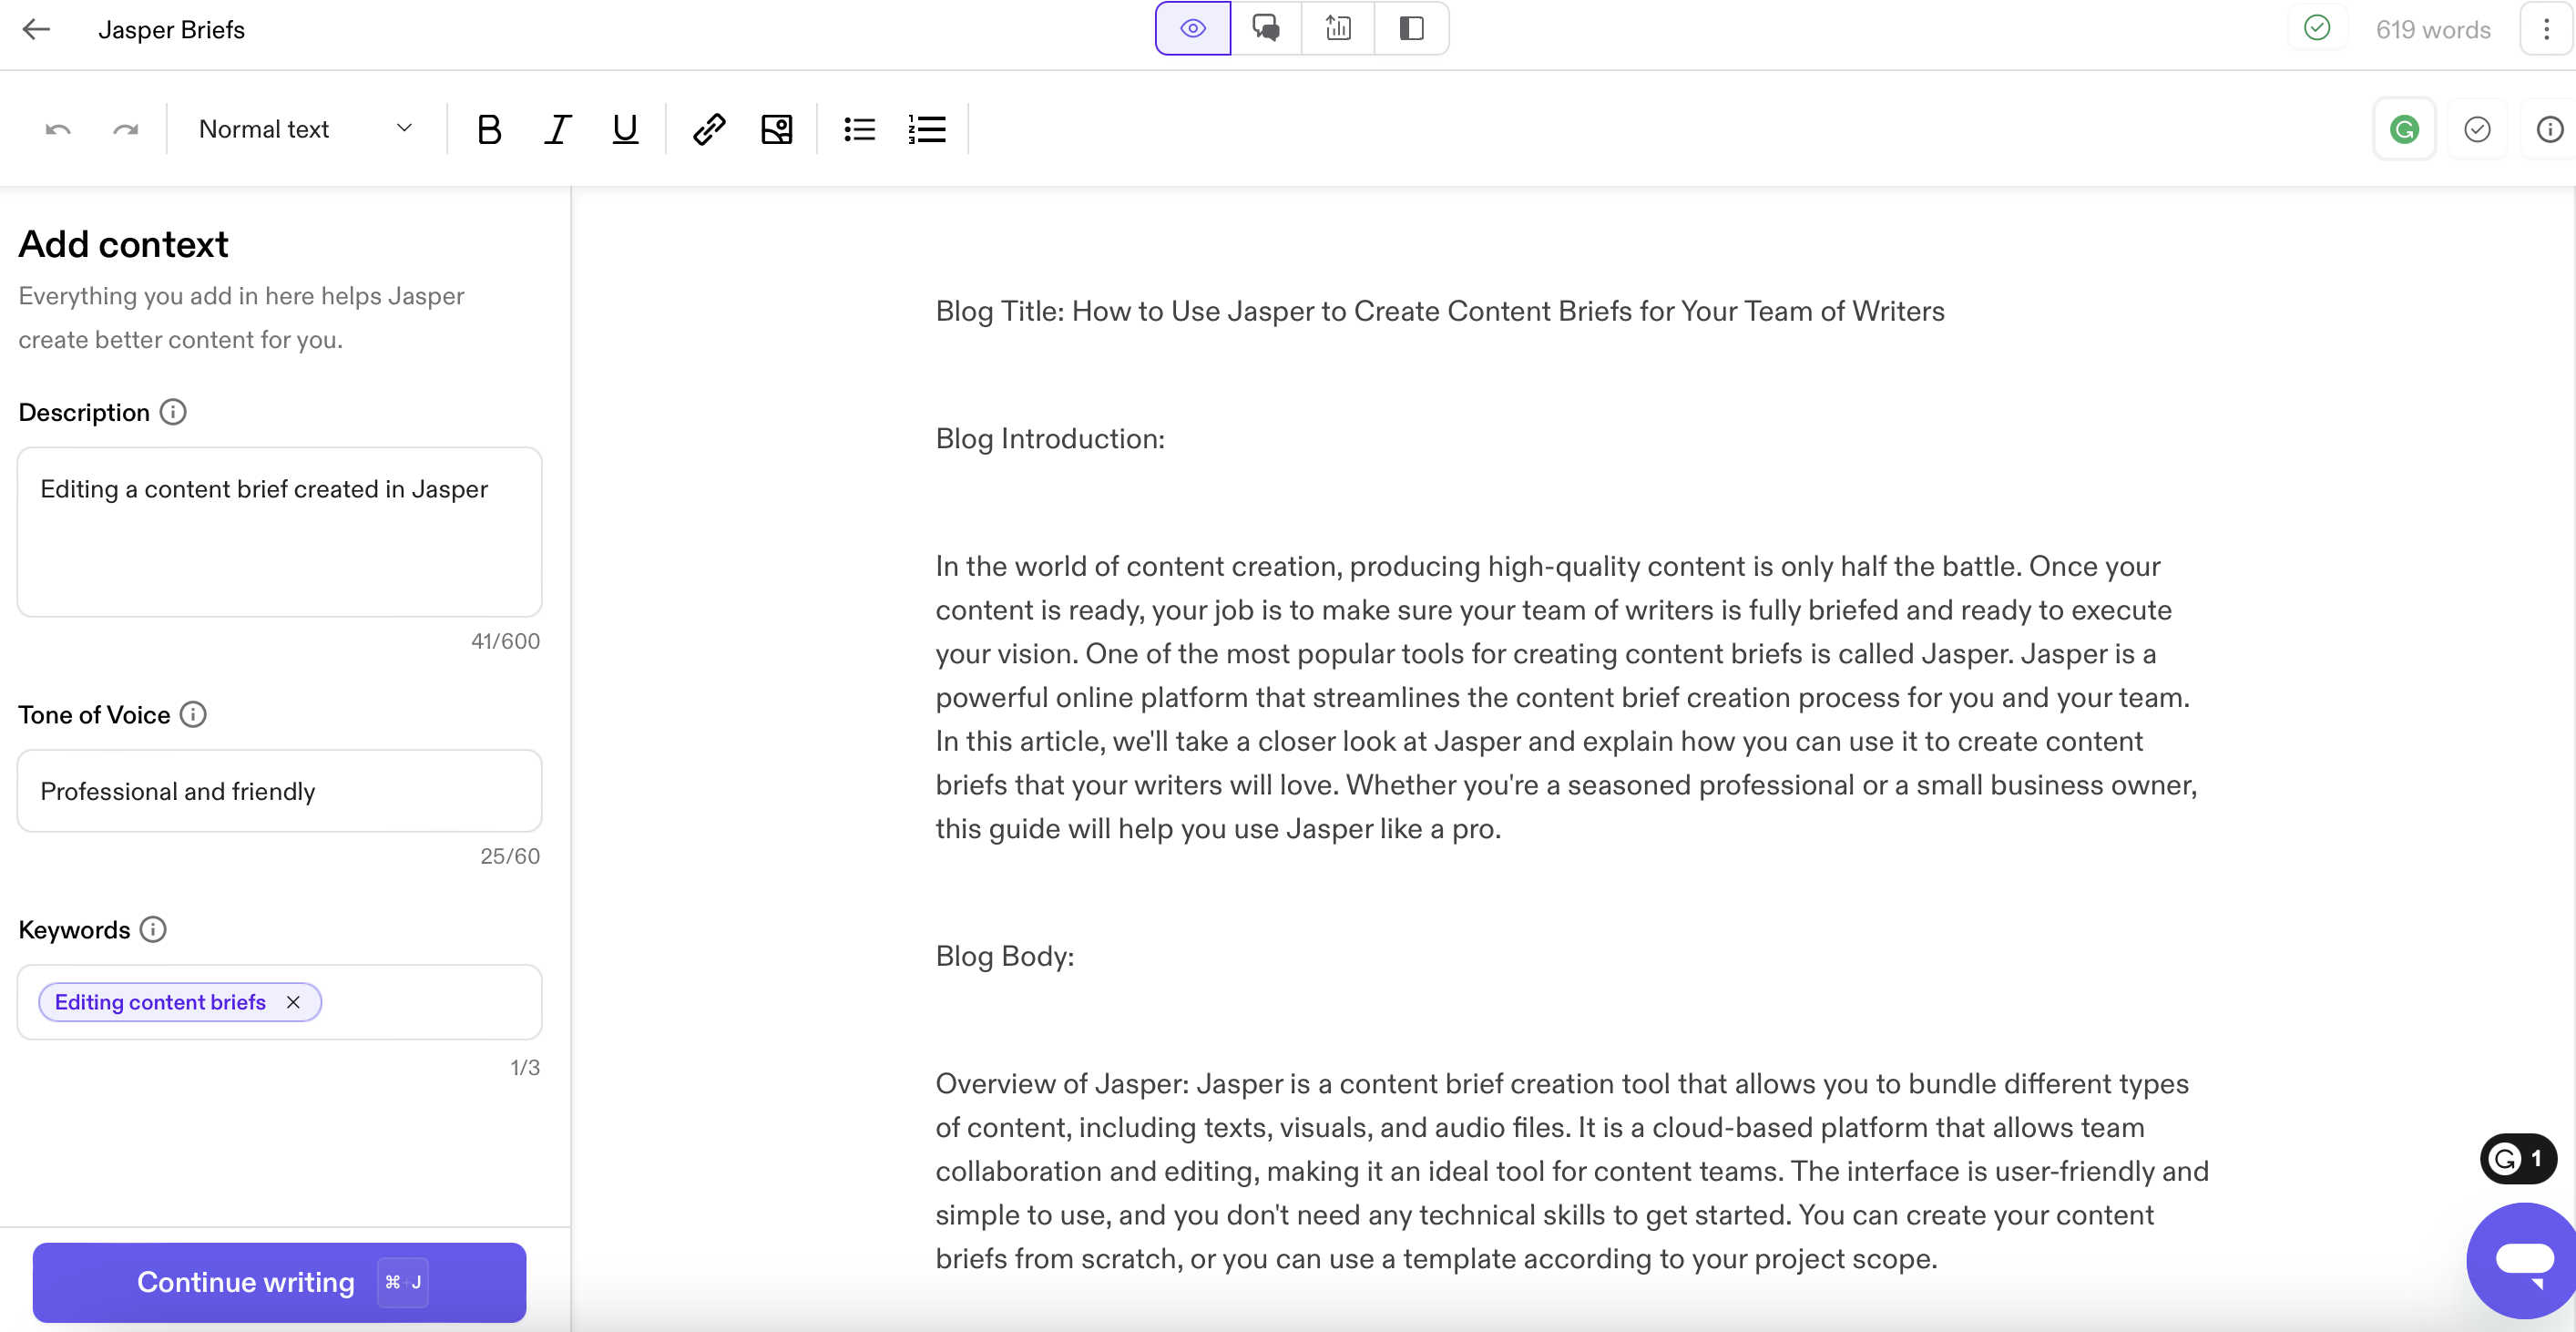
You can further enhance Jasper’s edits by providing more context. To do this, click on the symbol that looks like an eye at the top middle of your Jasper screen.

This puts you in “focus mode.” You can enter your cursor at any point in the doc, provide additional context and keywords to Jasper, and hit “Continue writing” to expand the text further.
Clicking the arrow at the end of each new output will prompt Jasper to continue the text.
Use templates and workflows to add or rewrite content
You can also use other Jasper templates to further enhance your blog post. To do this, make sure you’ve selected the right-most icon at the top of your Jasper window—it looks a bit like a split screen icon. This puts you into “power mode.” A list of templates and blog post workflows will appear in the left-hand sidebar.
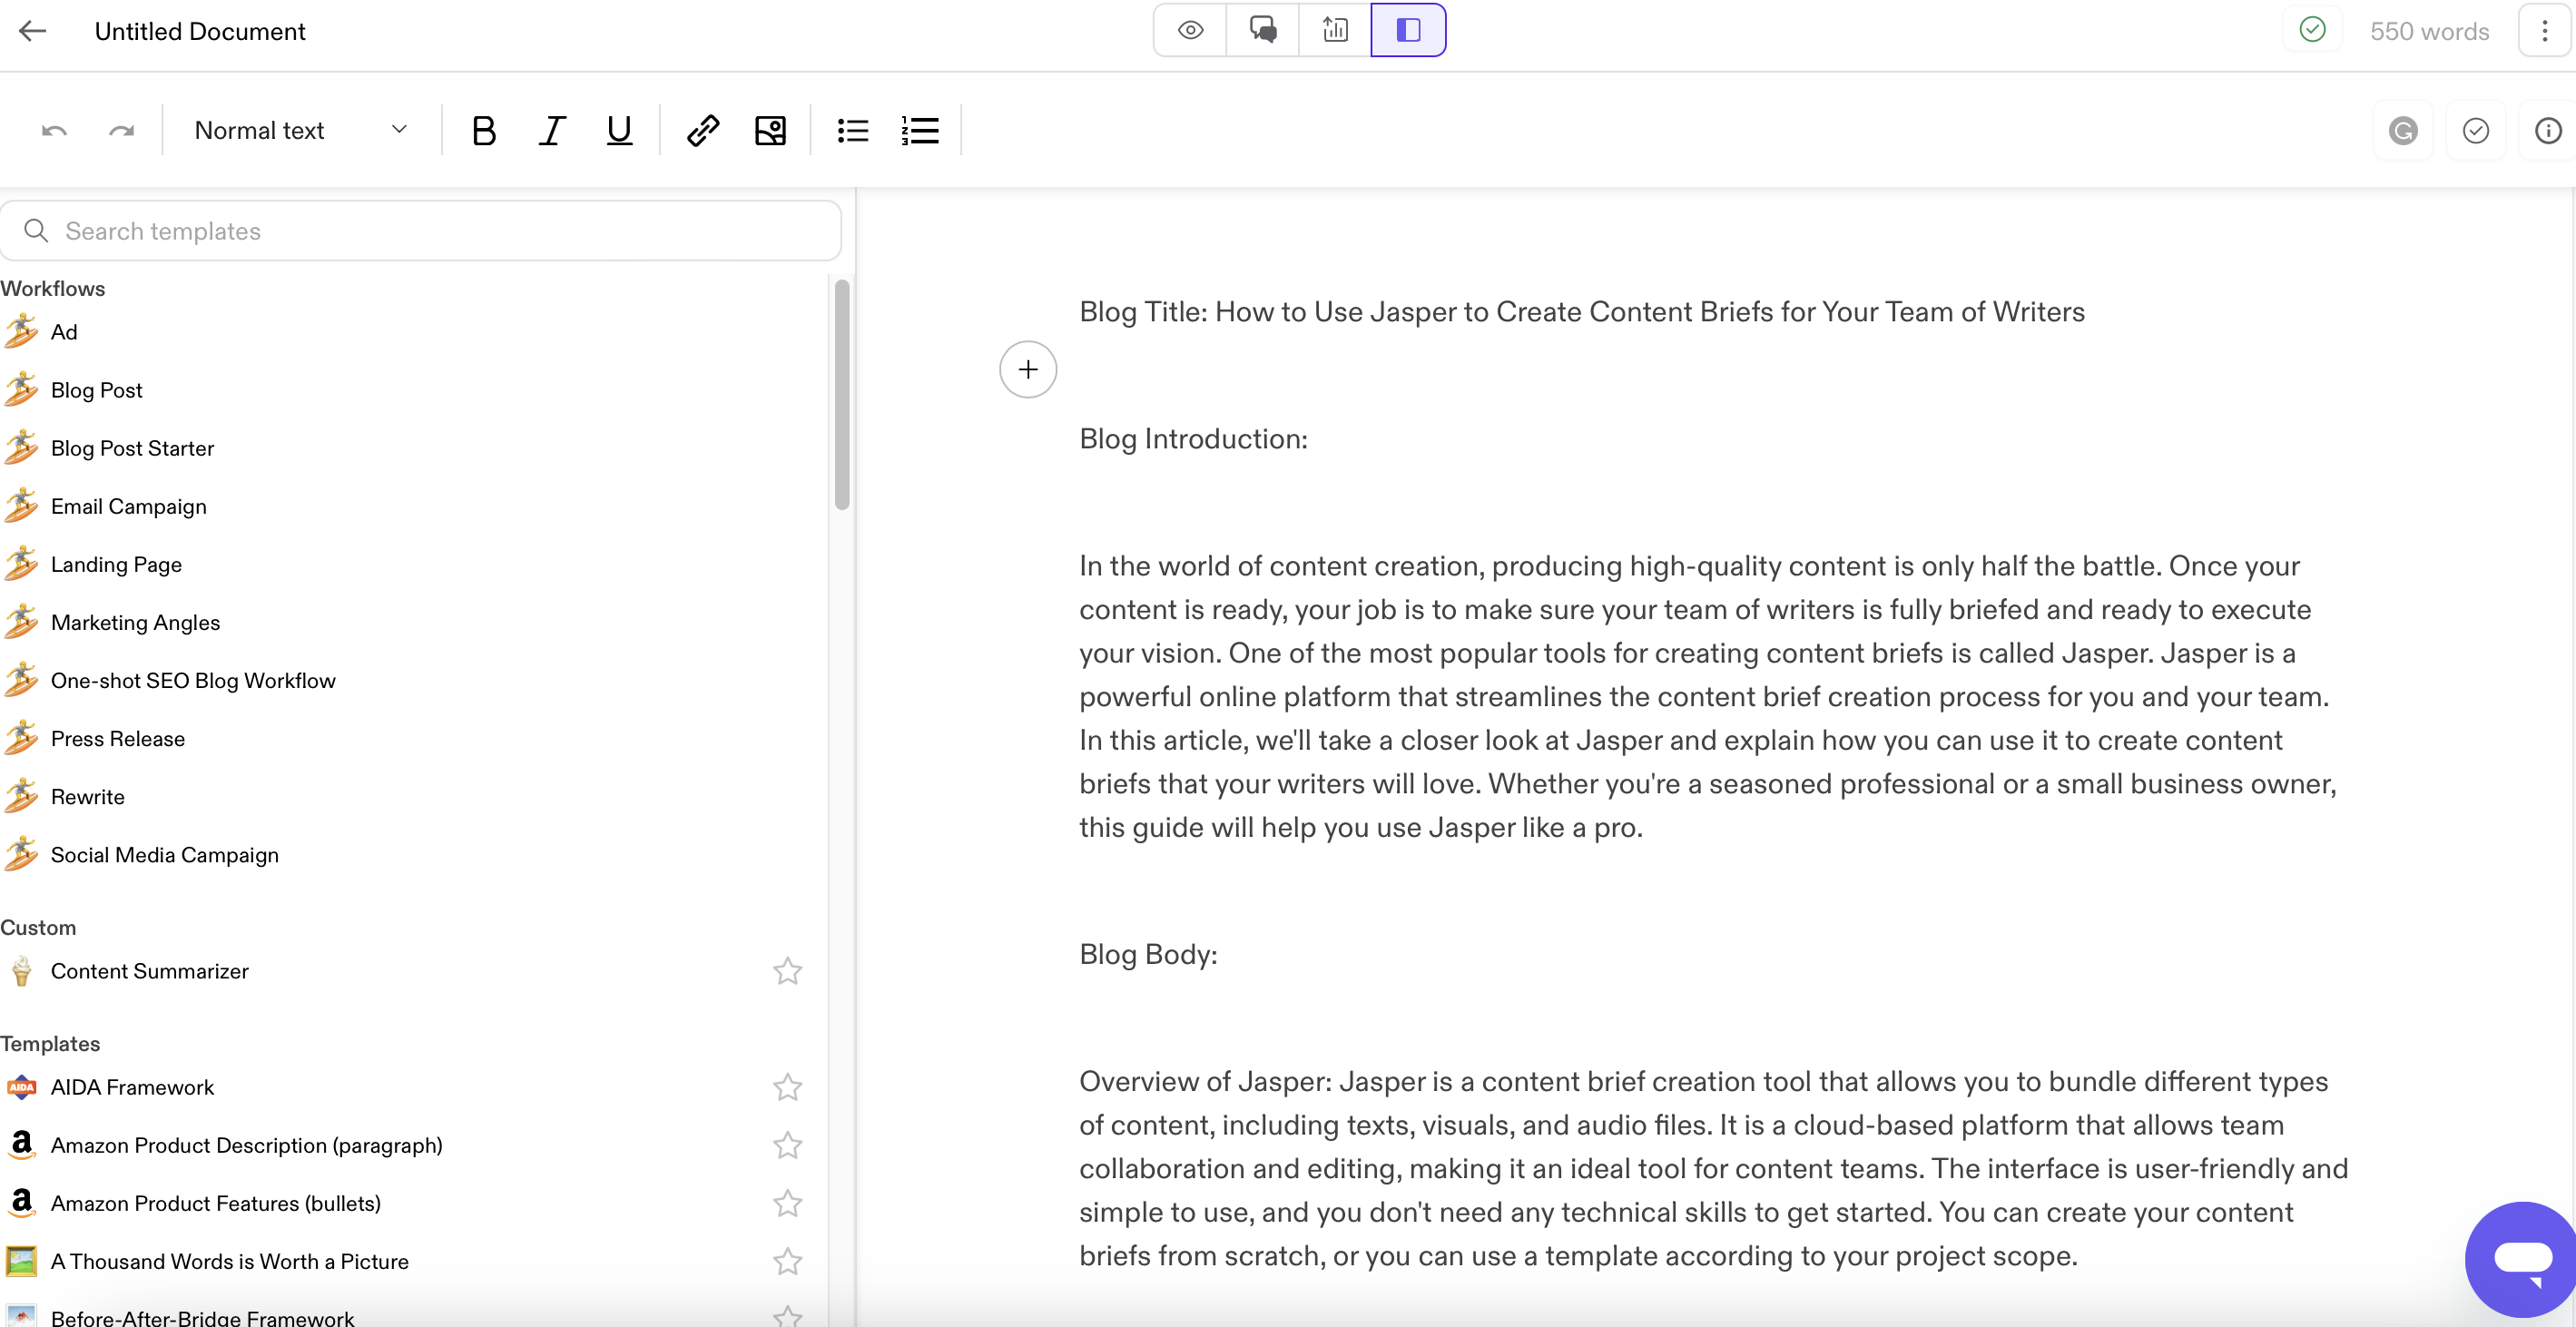
When you use a template or run a workflow, Jasper will generate outputs in that same pane. The new AI-generated content won’t be added to your draft until you’re ready to place it there. Here’s what it looks like when you use a template to generate new intro paragraphs for a blog post:

6. Proofread and optimize your content with Jasper integrations
You can further polish your AI copywriting with the aid of a few different Jasper integrations that improve accuracy and optimization.
Copyscape
Many businesses and universities use Copyscape plagiarism detection software to help ensure they’re creating (and receiving) original content.
Jasper integrates directly with Copyscape—to access it, just click on the check mark in the upper right corner of the document editor. You will need to pay to use the plagiarism detector—it’s $0.03 for the first 200 words, and $0.01 for every 100 words after that.

While Jasper promises that its AI outputs are original, having Copyscape on hand can help to give you additional peace of mind.
Grammarly
If you enjoy using Grammarly to help you write, you’ll be happy to learn it’s provided with Jasper! Just click the Grammarly symbol in the top right corner of the document editor. You don’t need to sign in with a Grammarly account, either—it’ll start working as soon as you click the button.
Surfer SEO
Once you’re happy with how your blog post reads, you can opt to further optimize your content for SEO. This is an excellent step to take if you plan to use your blog post on a website where you want to attract new visitors and customers.
In order to work on your SEO within Jasper, though, you’ll need a Surfer SEO subscription. Surfer can help you with SEO tasks outside of Jasper, too, including conducting keyword research and auditing your existing content to assess its performance in search engines.
If you have a Surfer SEO subscription, you can connect it to Jasper by turning on “SEO mode” in the integrations section of your account settings.
Next, click on the chart icon at the top of your Jasper document editor to log into Surfer SEO and begin optimizing your blog post.
7. Format the content and headings
The last step in using Jasper to create a blog post is formatting the content. Your final copy may be without formatting or include various section labels like “blog introduction” or “blog conclusion.” You’ll want to remove these section labels, create your own subheadings that apply to the content, and apply paragraph styles to your text.

When you’re all done, you can use Jasper to turn your blog post into different content, too. There are templates and workflows available that can help you create related things like:
- Social media posts
- Ads
- Marketing emails
When you’re satisfied with the formatting, you can copy your blog post and use it in WordPress, Webflow, or any other content management system.
Other ways to write with Jasper
The one-shot blog post template is just one way to create high-quality content for your blog with Jasper. You can use it as a versatile marketing tool and:
- Start with a template for blog posts and build out your content calendar with fresh ideas
- Build your blog post section by section using a workflow or the Jasper blank document editor
- Revise your blog post titles to be catchier or SEO-ready
- Use Jasper’s blog post outline template to give you a starting point for content you write yourself
- Compose product descriptions that you can link to in your blog post
- Develop a set of FAQs that you can use in a blog post announcing a new product or service
- Summarize the main points of your blog post into an easy-to-skim list of bullet points
- Switch up the content you create with Jasper’s listicle template
- Get help writing a landing page that will entice website visitors to take a particular action
If you have a Surfer SEO subscription and audit your existing content, you can also use Jasper to help rewrite older, poorly performing web pages so that they perform better in organic search.
Go even further with AI
Creating blog posts in Jasper is just one example of the many ways you can use generative AI content to enhance your work. From exploring other Jasper templates to integrating custom AI solutions into your business, there are countless opportunities to leverage AI for better productivity and output.
Talent on Upwork can help. You can find machine learning engineers, AI writing pros, and more all in one place. Not sure where to begin? Try booking a consultation with an AI professional—or ask our handy Upwork AI chatbot how to post your first job.
And, if you’re an AI writing pro who’s ready to help others get the most out of Jasper, you can advertise your services in Project Catalog™ or browse AI writing jobs available in Talent Marketplace™ today. All it takes is an Upwork account—sign up or log in to get started.
Prices are current at the time of writing and may change over time based on each service’s offerings.

.avif)

Author Spotlight

Upwork is the world’s largest human and AI-powered work marketplace that connects businesses with independent talent from across the globe. We serve everyone from one-person startups to large organizations with a powerful, trust-driven platform that enables companies and talent to work together in new ways that unlock their potential.